How to Safely Trace a Wire with No Power – Step-by-Step Guide
Tracing a wire without power may seem intimidating, but it's a task that can be tackled safely with the right tools and precautions. Whether you're trying to locate a break in the wire or plan a new installation, this comprehensive guide will walk you through the process with expert techniques from licensed electricians.
By Cesar R.
50
35
Introduction
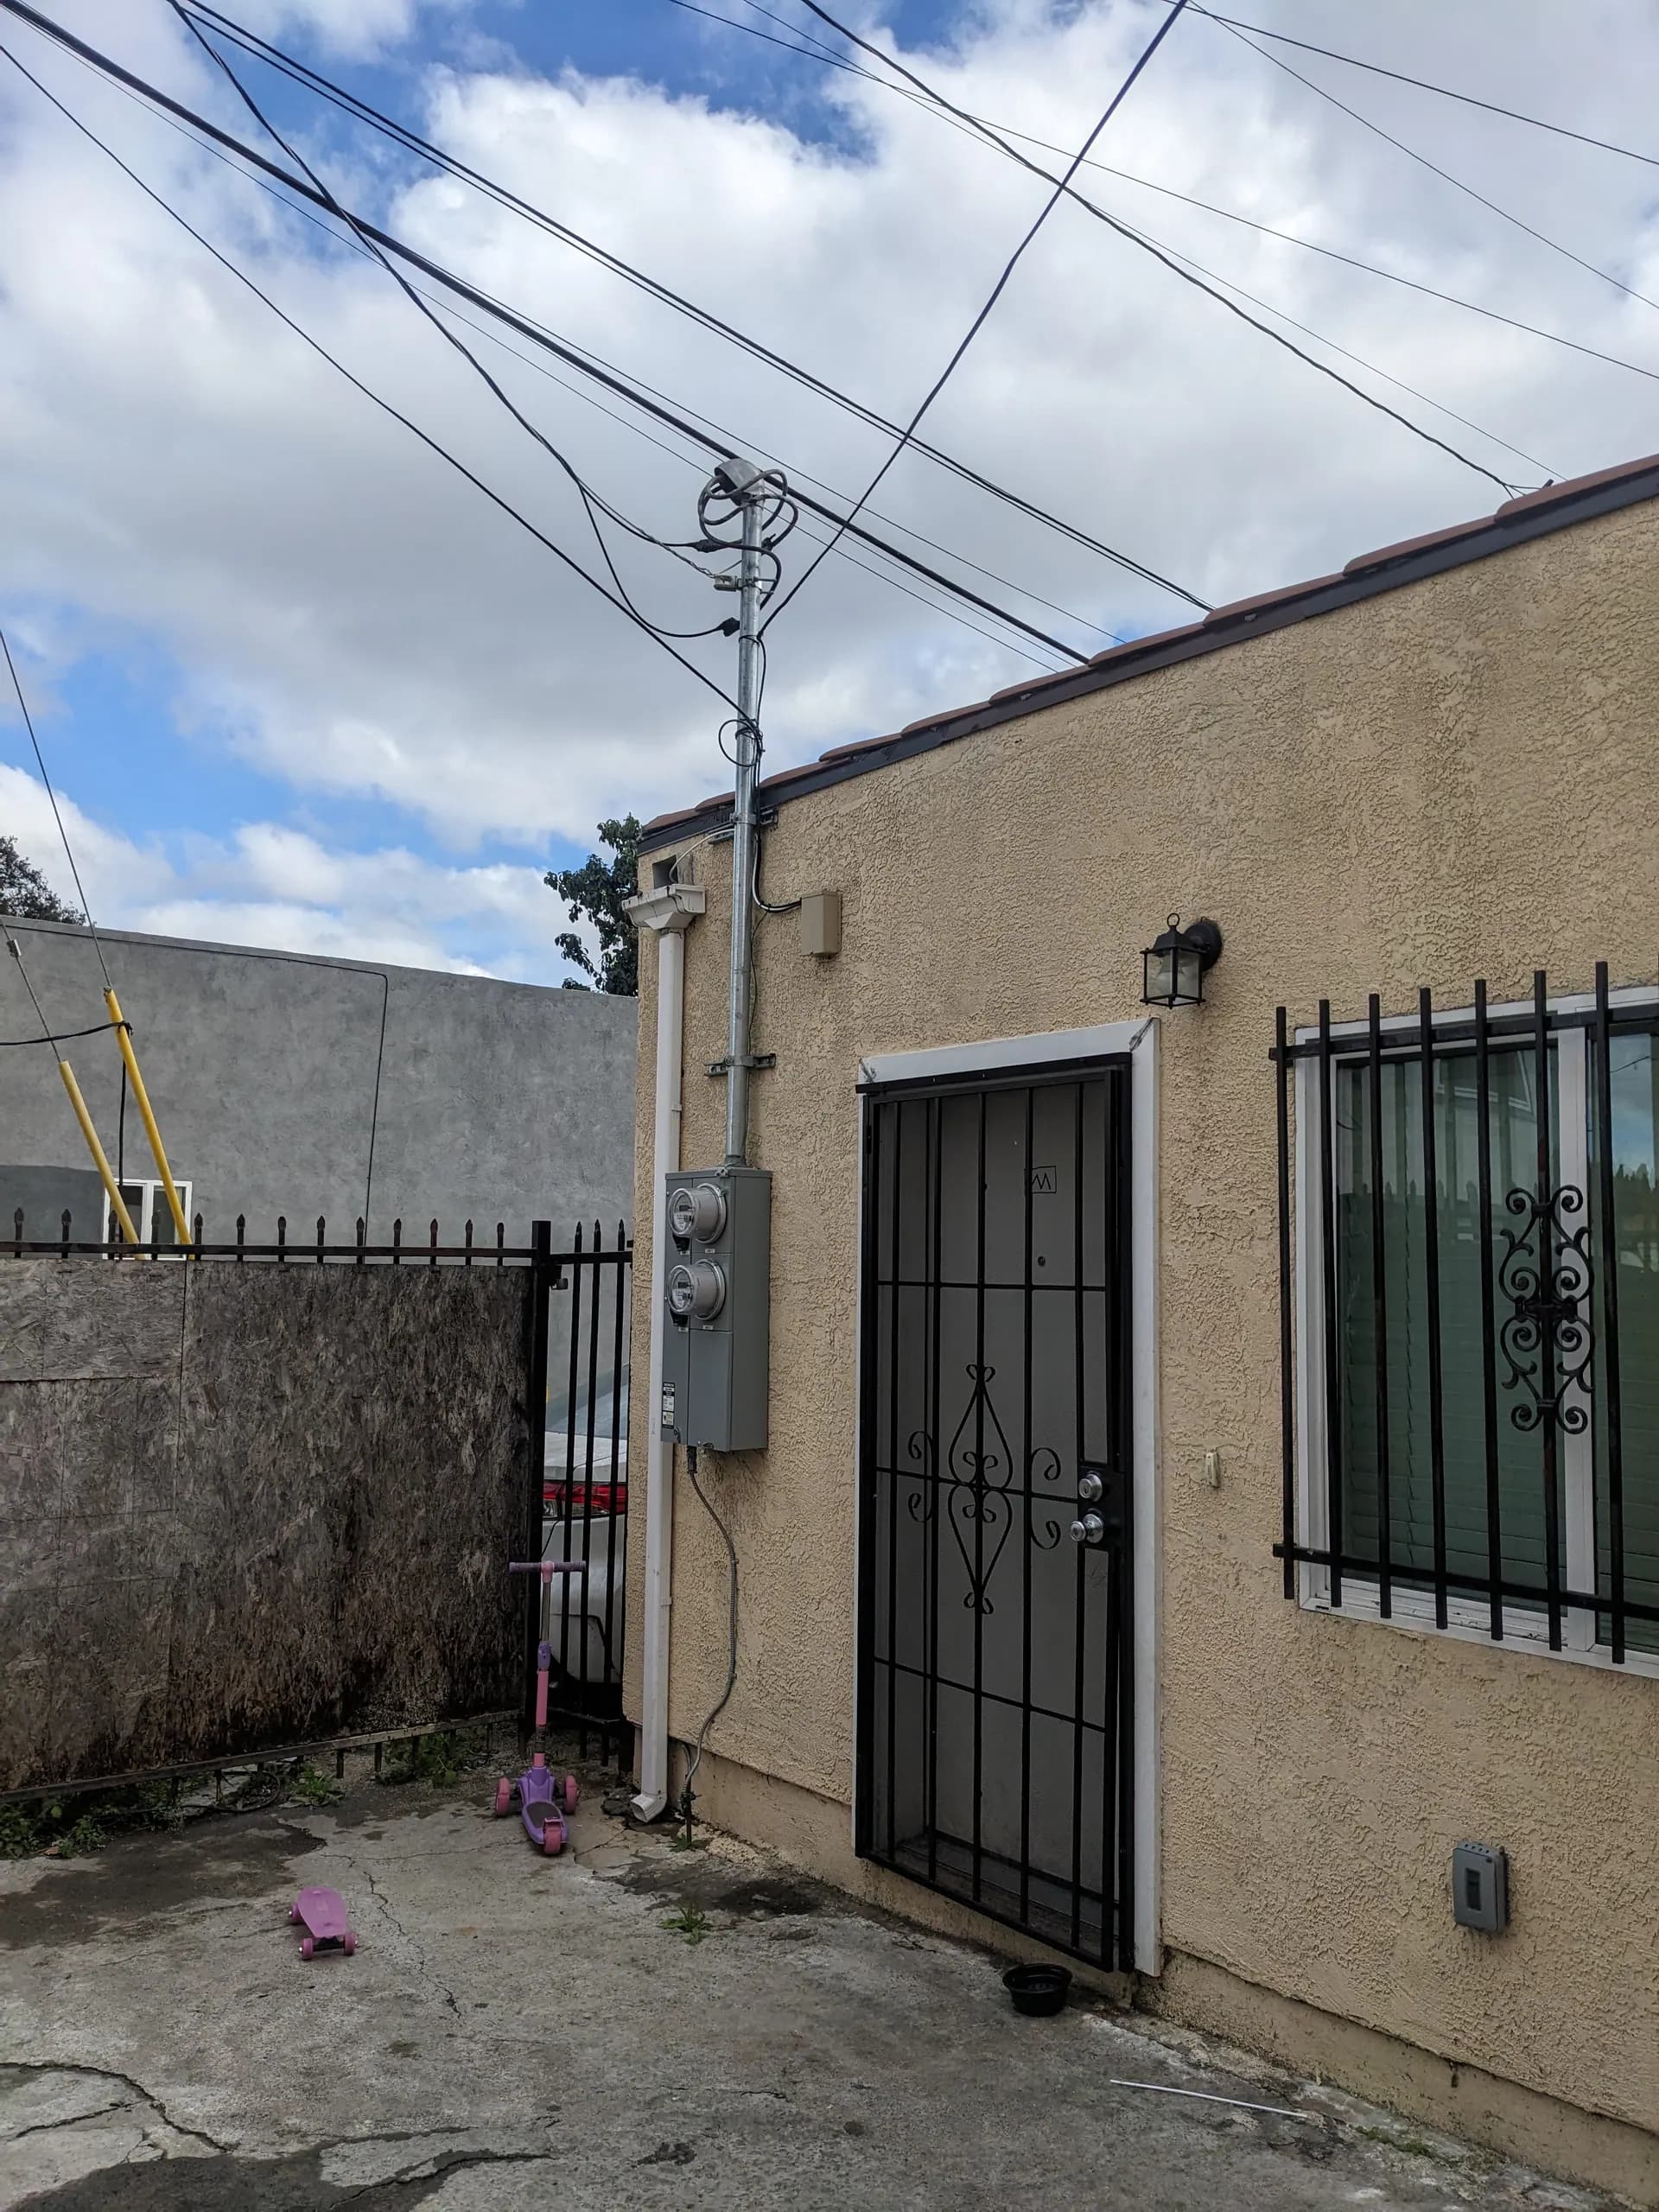
Wire tracing is an essential skill for any electrical work, whether you're troubleshooting a dead circuit, planning new installations, or locating hidden wiring behind walls. This process becomes crucial when dealing with older homes where circuit maps may be inaccurate or missing entirely. Our licensed electricians at RnR have decades of experience in wire tracing, and we're sharing our field-tested techniques to help you complete this task safely and effectively.
Essential Tools You'll Need
- Non-contact voltage tester: Critical for ensuring wires are truly de-energized. Always test known live circuits first to confirm your tester is working.
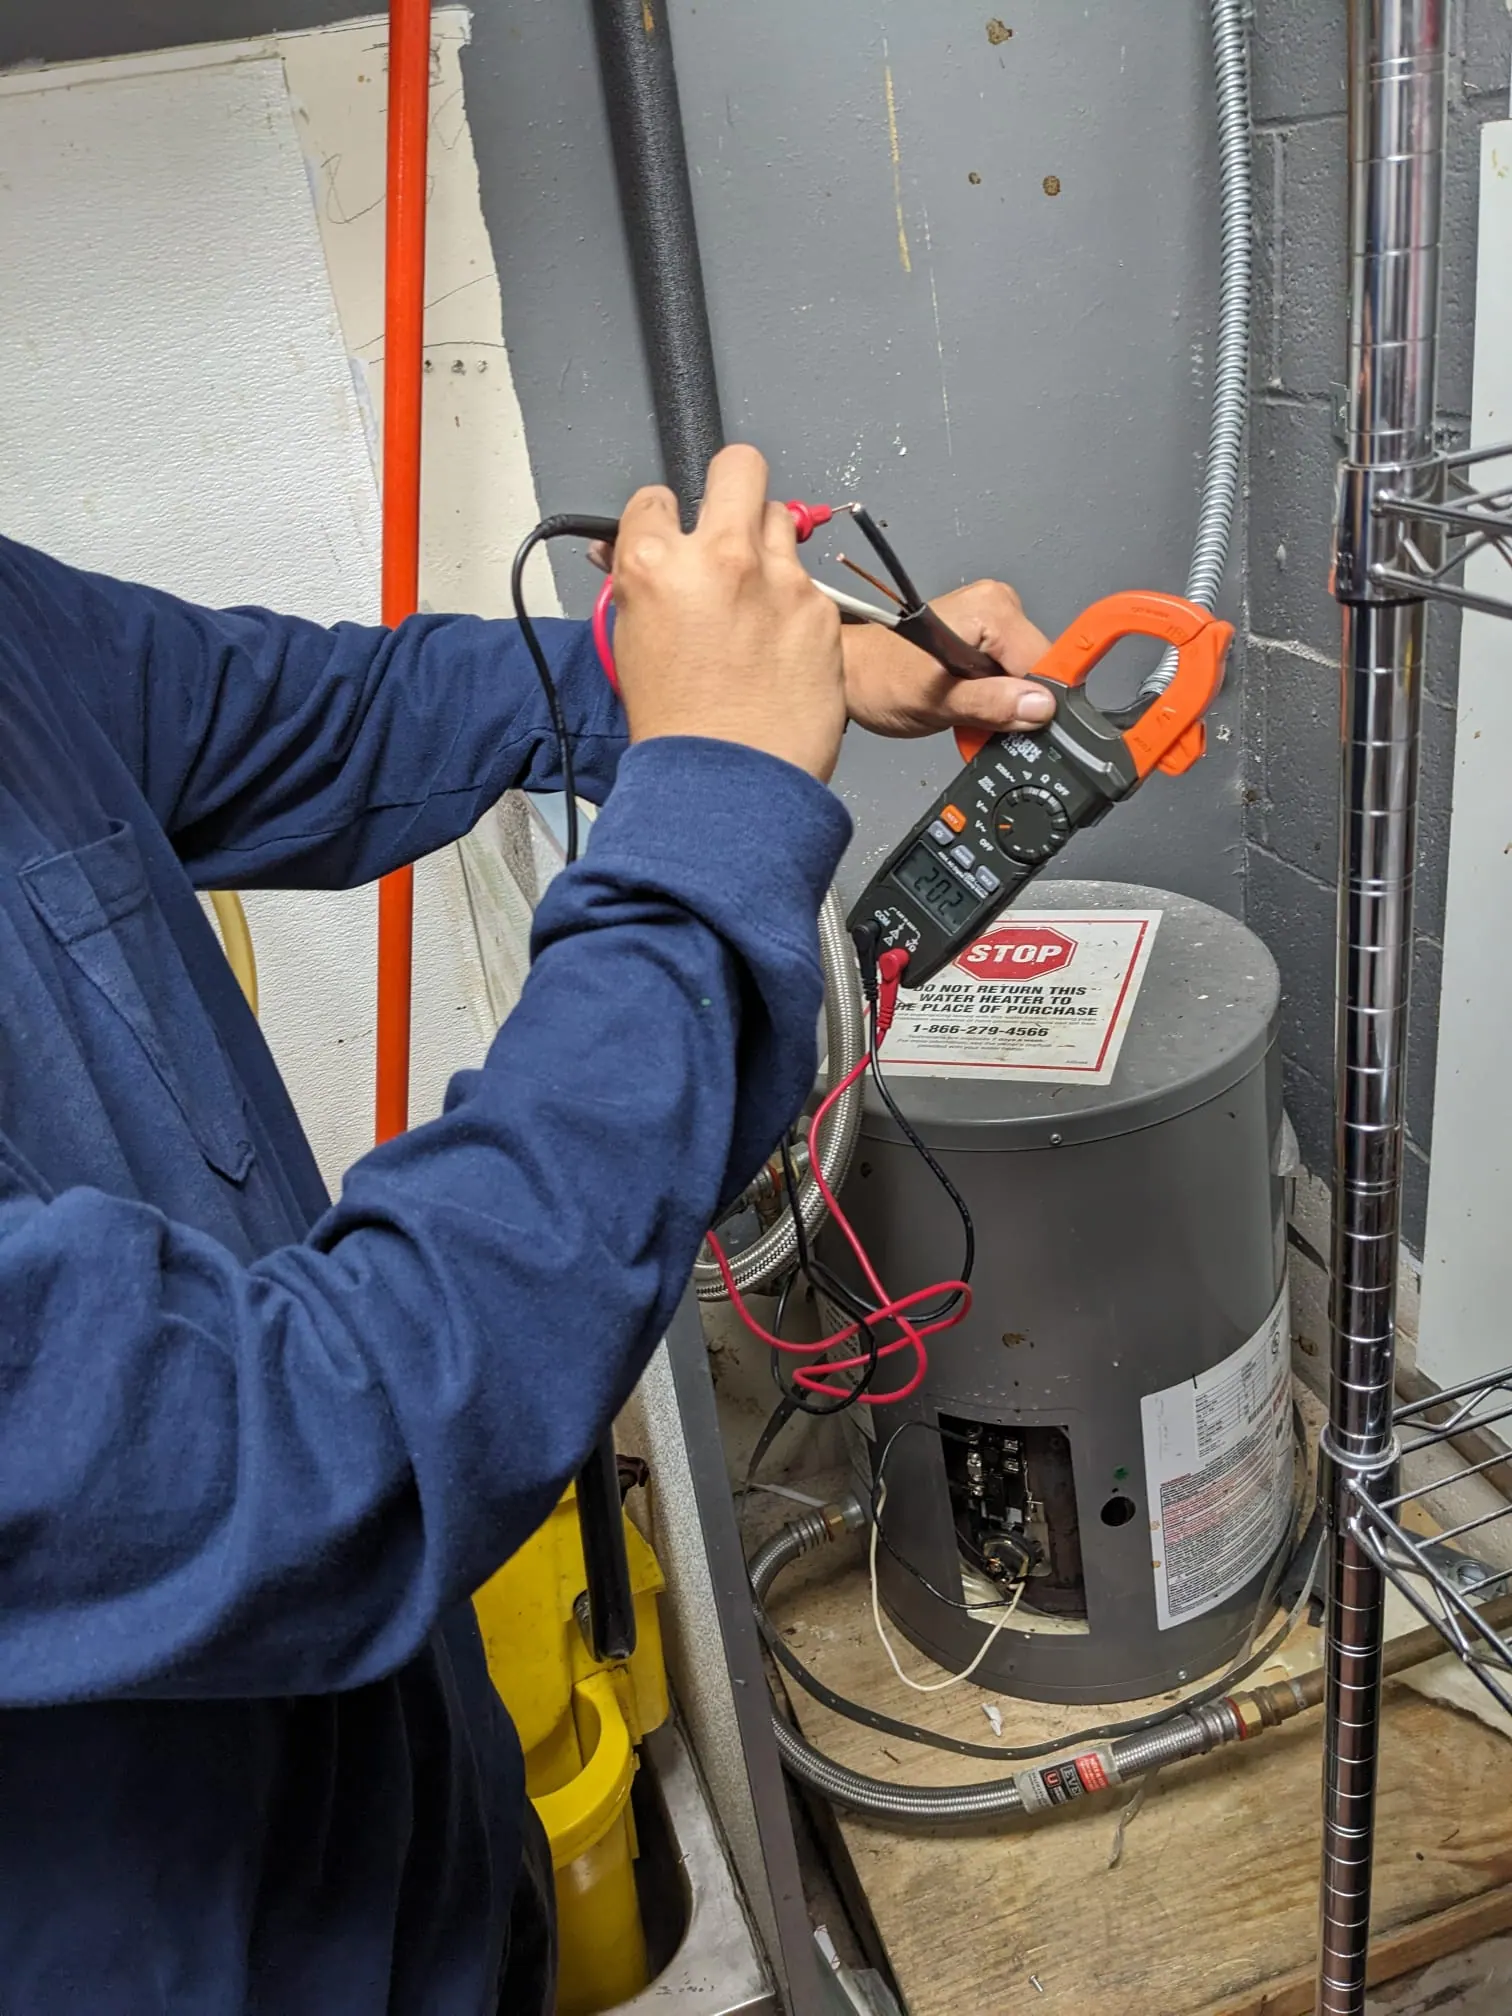
- Continuity tester or digital multimeter: A multimeter is preferred as it provides precise resistance readings and can detect partial breaks that simple continuity testers might miss.
- Wire tracer/toner probe: Professional-grade wire tracers send a signal through the wire and use a receiver to detect the signal path. These are invaluable for tracing wires behind walls.
- Electrical tape and labels: For marking wires and connections as you work through the process.
- Flashlight or headlamp: Essential for working in dark areas like basements, crawl spaces, and electrical panels.
- Wire nuts and electrical connectors: For safely connecting test leads to wires.
- Insulated tools: Screwdrivers and pliers with proper insulation ratings.
- Personal protective equipment: Safety glasses, insulated gloves, and rubber-soled shoes.
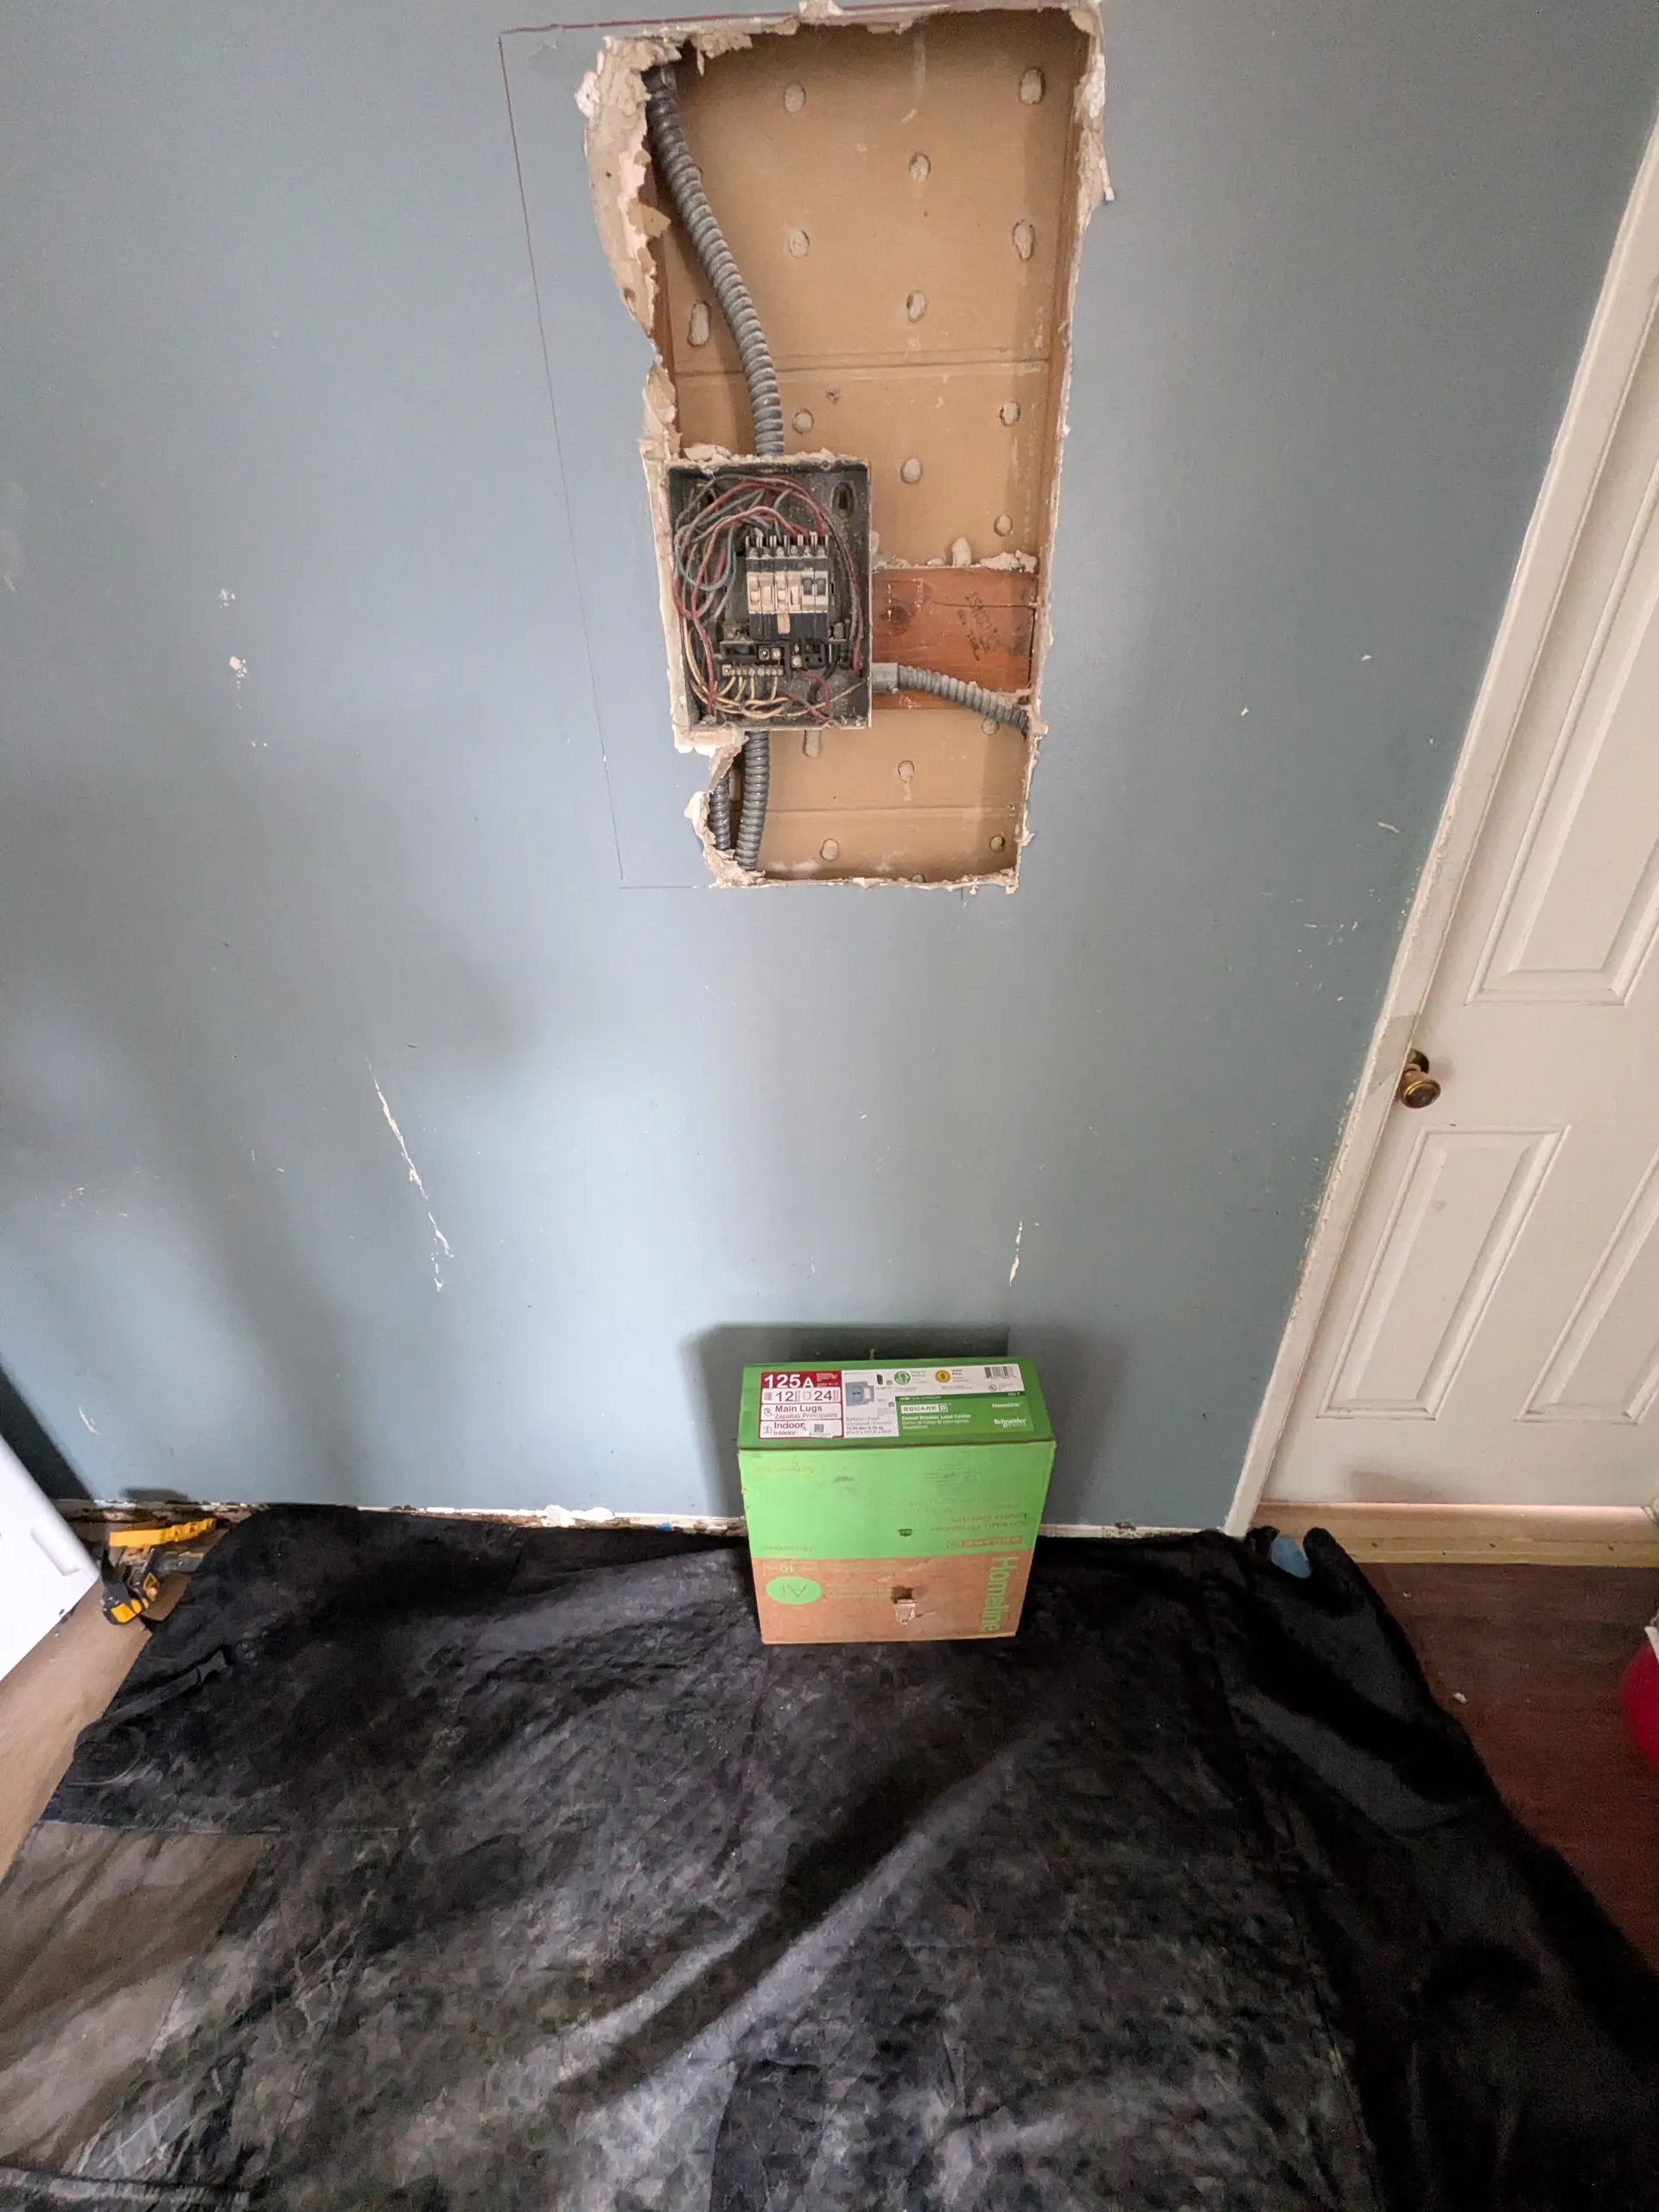
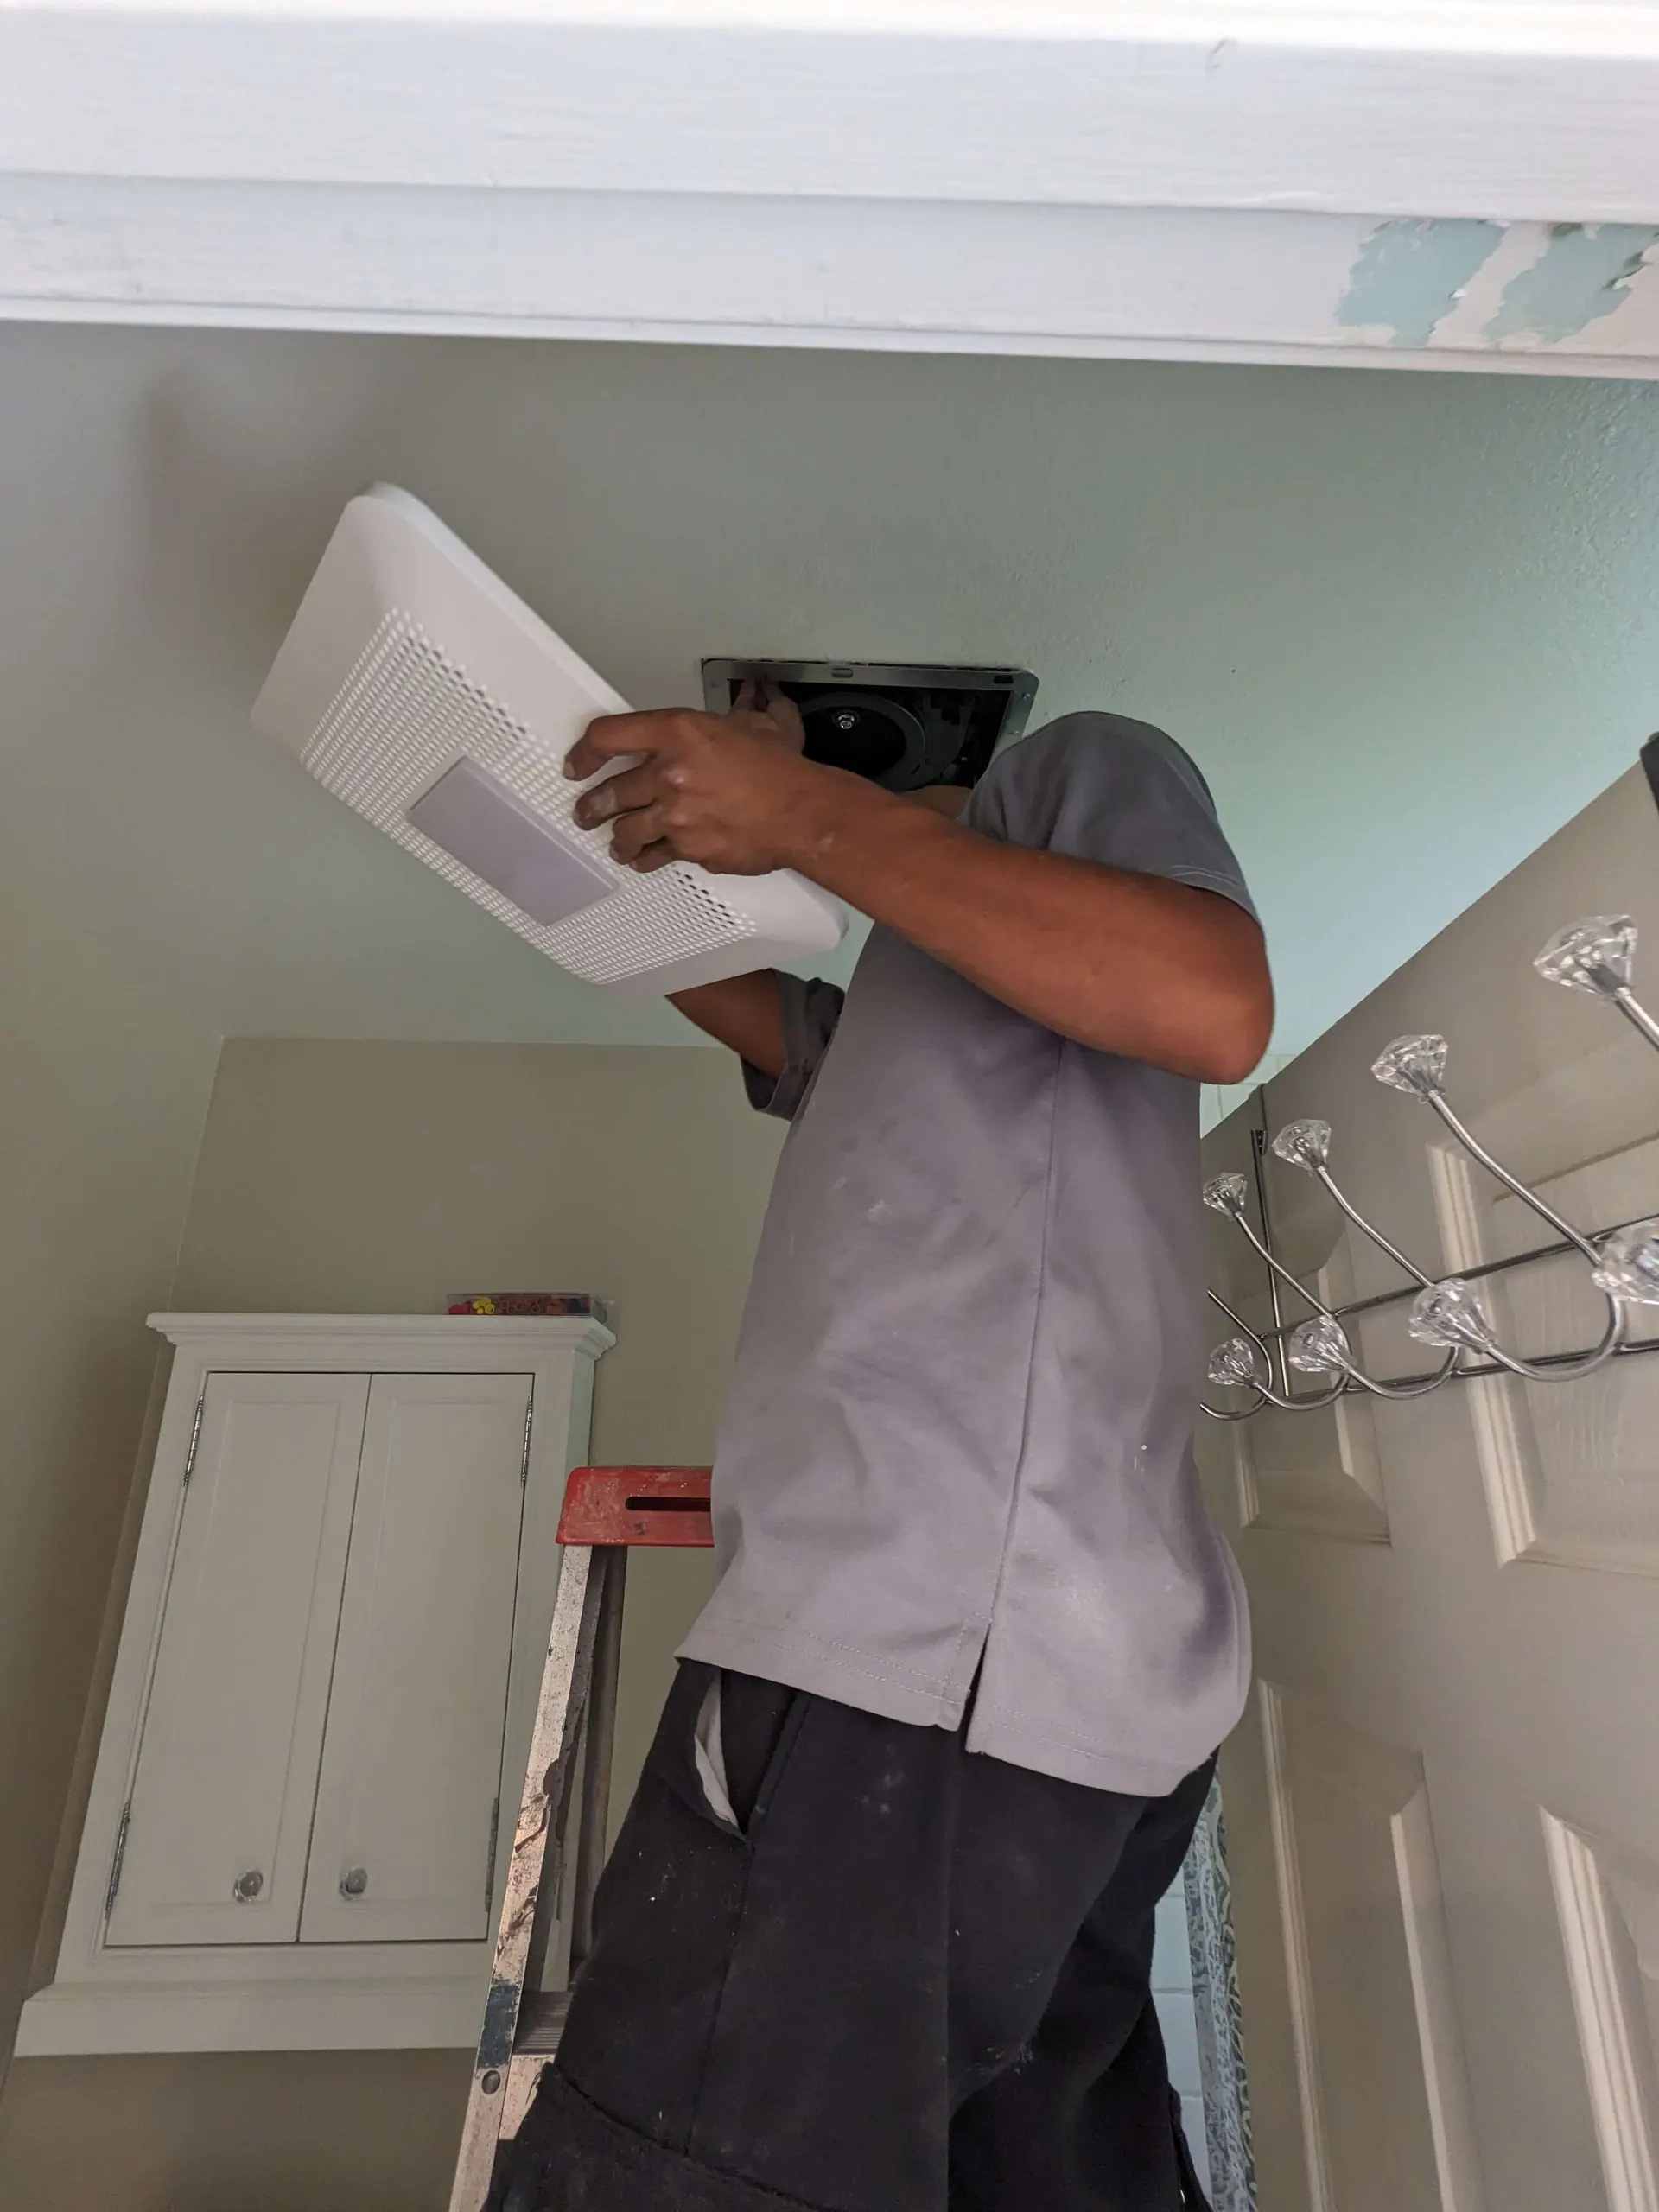
Step-by-Step Guide to Tracing a Dead Wire
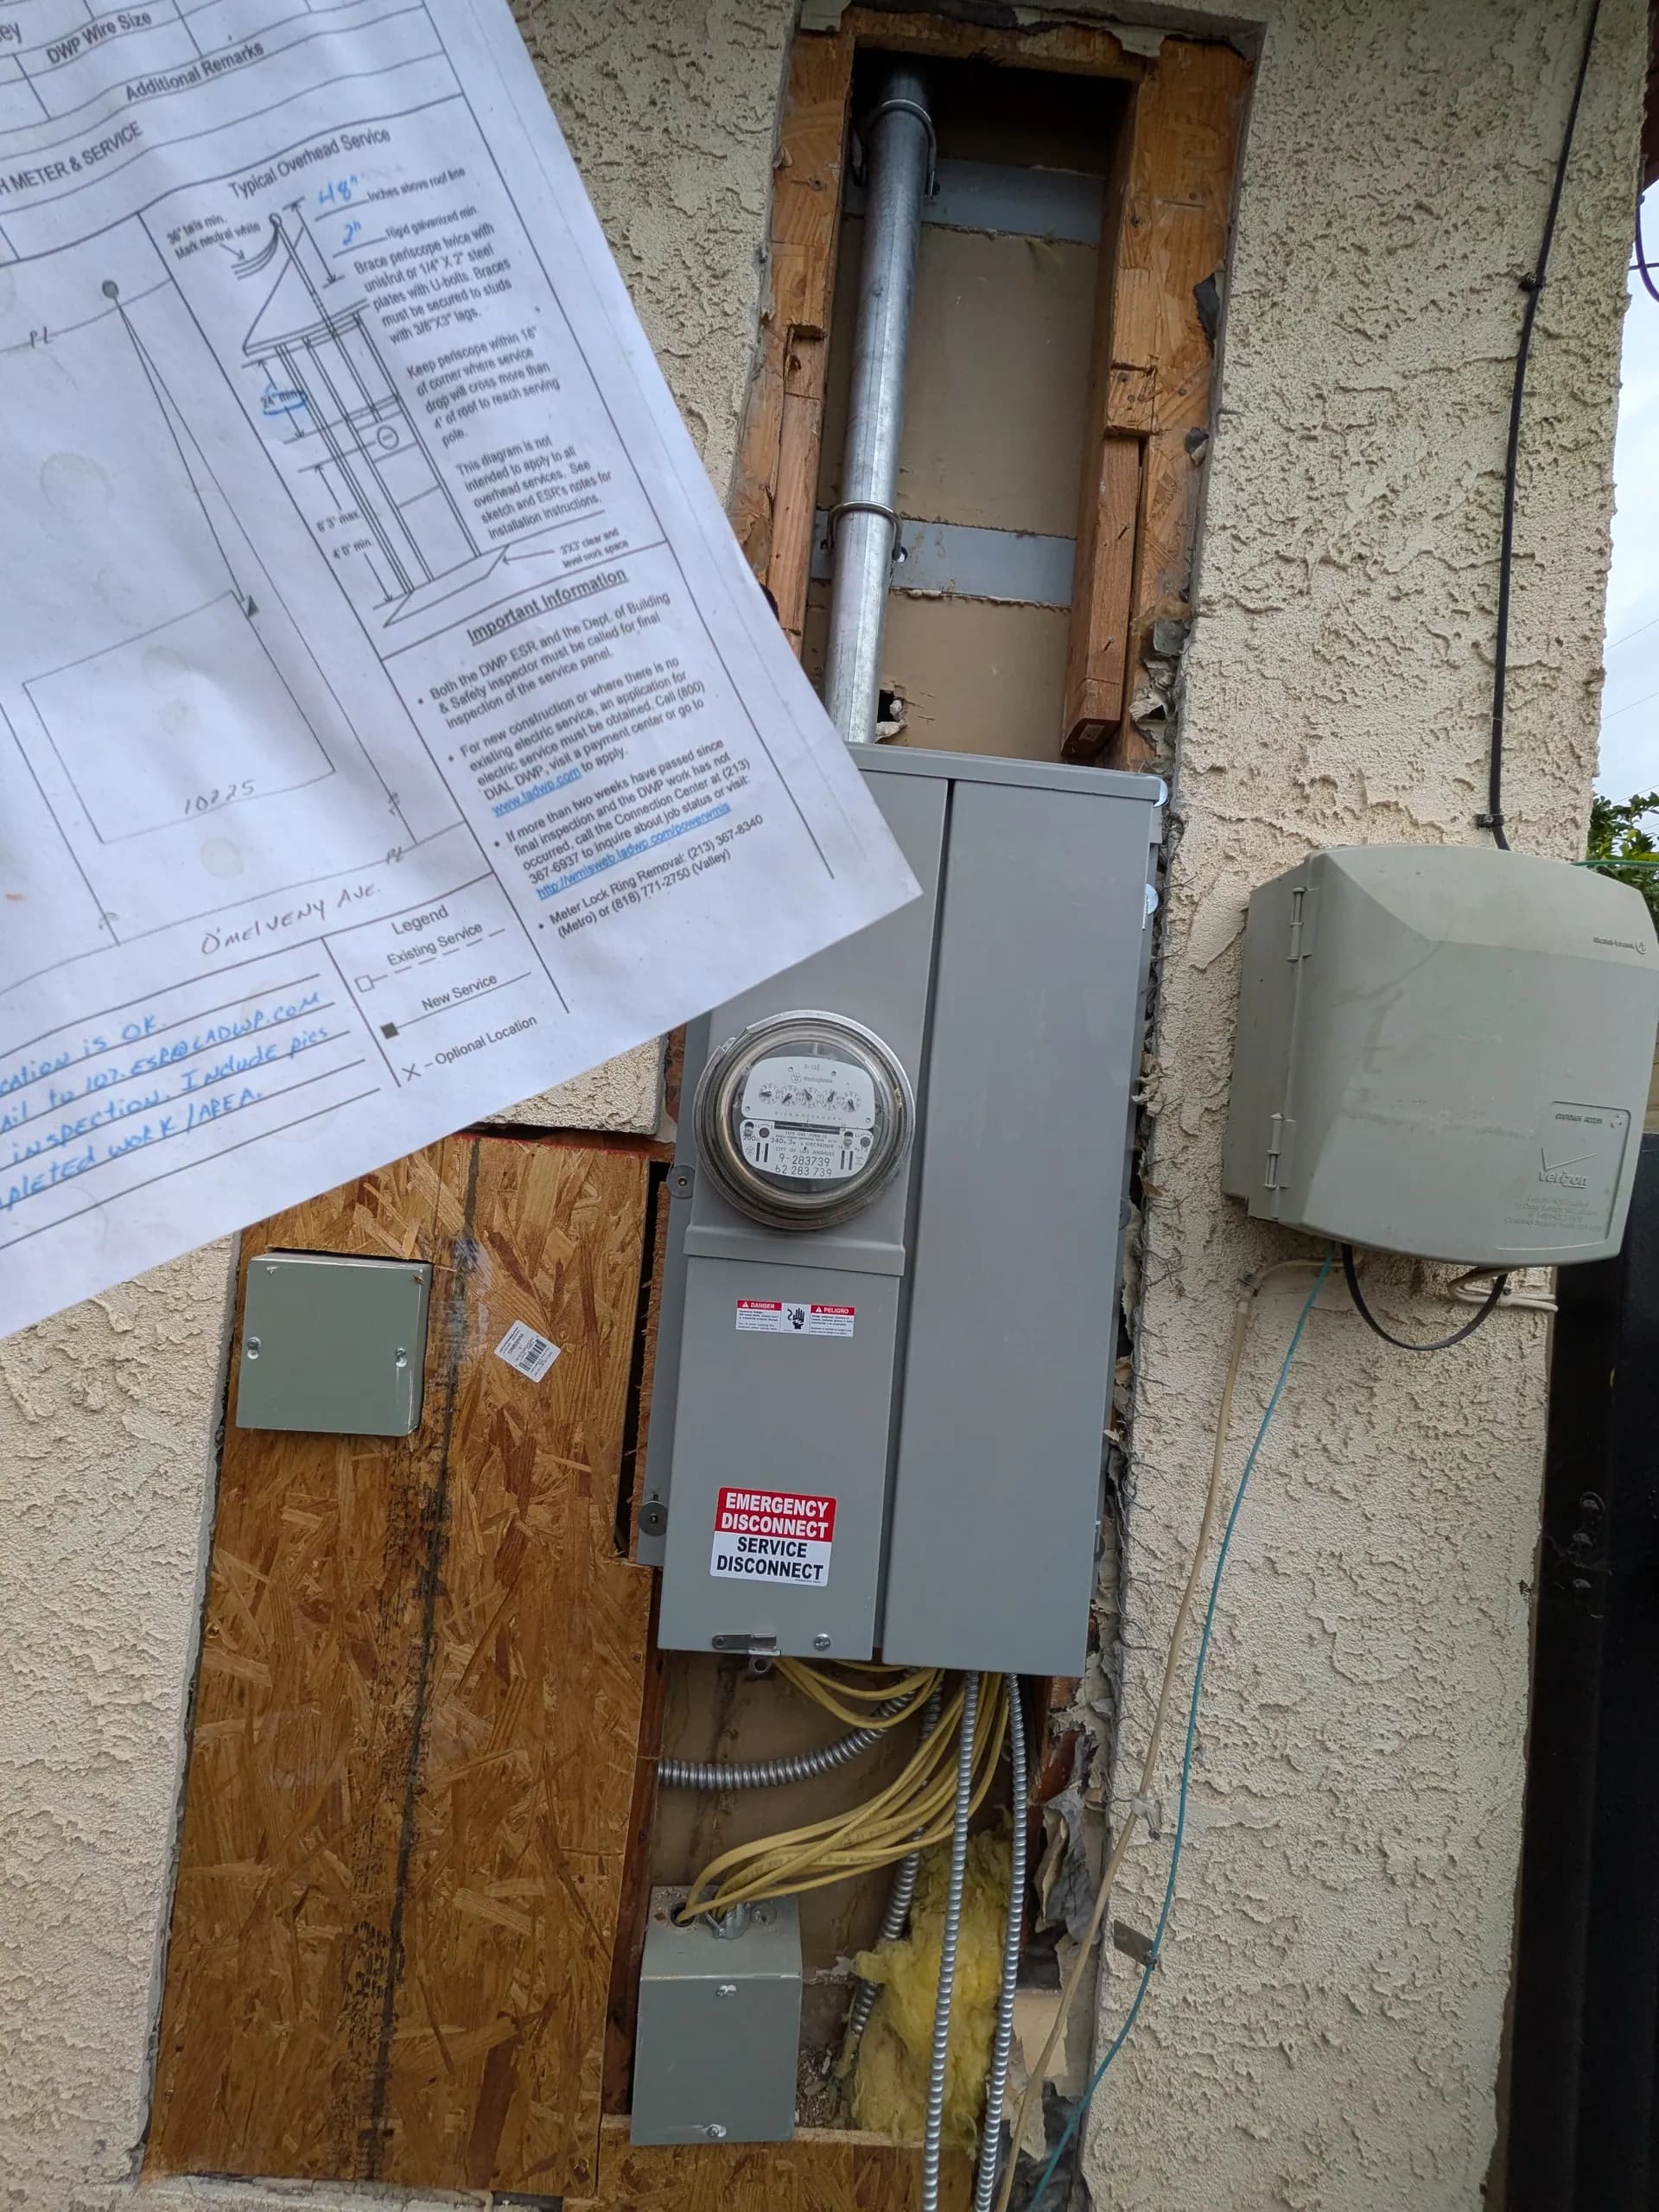
- Turn Off All Power: This is non-negotiable. Turn off the breaker that controls the circuit you're working on. Use a non-contact voltage tester to verify the wire is de-energized. Test the voltage tester on a known live circuit first to ensure it's functioning properly.
- Disconnect the Wire: Remove the wire from any circuit, outlet, switch, or terminal to prevent any feedback or accidental energizing. This isolation is crucial for both safety and accurate testing.
- Prepare Your Wire Tracer: If using a professional wire tracer, connect the transmitter to one end of the wire you want to trace. The transmitter sends a unique signal through the wire that the receiver can detect. Make sure to follow the manufacturer's instructions for your specific model.
- Begin the Tracing Process: Start at the known end of the wire and slowly move the receiver along the suspected path. Most receivers will beep or give visual indicators when detecting the signal. Move systematically - walls, ceilings, and floors in the direction you expect the wire to run.
- Mark Your Path: Use electrical tape or chalk to mark the wire's path as you trace it. This creates a visual map that's invaluable for future reference or if you need to access the wire again.
- Identify Junction Points: Pay special attention to areas where the signal strength changes or splits. These often indicate junction boxes, splice points, or areas where the wire changes direction.
- Test Continuity Throughout: Use your multimeter set to continuity mode (or ohms) to test the wire at various points. A continuous beep or zero/low resistance reading indicates an intact wire. High resistance or no continuity suggests a break.
Mastering Wire Tracer Techniques
Wire tracers work by sending a signal through the conductor and detecting that signal with a receiver. For best results, ensure good connections at the transmitter end - clean wire ends and secure connections are essential. When tracing through walls, move the receiver slowly and methodically. Signal strength can vary based on wall materials, nearby electrical interference, and wire depth. Metal conduit or heavy steel framing can affect signal transmission, so adjust sensitivity settings accordingly. Some advanced tracers offer different frequency settings - experiment to find what works best in your specific environment.
Understanding Continuity Testing
Continuity testing measures whether electricity can flow through a complete circuit. When testing with a multimeter, you're measuring resistance - a reading near zero ohms indicates good continuity, while an infinite reading (often shown as 'OL' for overload) indicates a break. For long wire runs, some resistance is normal due to the wire's natural resistance. Copper wire typically shows about 1.6 ohms per 1000 feet for 12 AWG wire. If you get higher readings, there may be a poor connection or partial break. Always test your meter leads together first to account for their resistance, then subtract this from your wire readings for accuracy.
Need a licensed electrician in Los Angeles?
RnR Electrician handles this and more. Same-day service, free estimates.
Not sure what you're dealing with?
Our licensed electricians diagnose electrical issues across LA.
Advanced Continuity Testing Techniques
- End-to-End Testing: Connect your multimeter leads to each end of the wire. This tests the entire length for breaks or high resistance connections.
- Segmented Testing: For long runs, test the wire in sections if you have access to junction boxes. This helps isolate problems to specific segments.
- Load Testing: Sometimes a wire may show continuity under no load but fail under actual electrical load. If you suspect this, consult a licensed electrician for professional load testing.
- Insulation Testing: While not exactly continuity testing, checking insulation resistance between conductors and ground is crucial for safety. This requires a specialized insulation tester (megger).
Critical Safety Tips
- Always wear rubber-soled shoes and insulated gloves when working with electrical systems, even when power is off.
- Work in dry areas to reduce shock risk. Never work on electrical systems in wet conditions.
- Use proper lockout/tagout procedures when working in areas where others might restore power.
- If you encounter aluminum wiring, be extra cautious as it requires special handling and connections.
- Never assume a wire is dead based on a single test - always verify with multiple methods.
- If you're unsure at any step, stop immediately and call a licensed electrician.
- Be aware of other utilities when tracing wires - gas lines, water pipes, and data cables may be in the same areas.
Troubleshooting Common Issues
If your wire tracer isn't picking up a signal, check your connections first - loose connections are the most common cause of signal loss. Ensure the wire is completely disconnected from any circuits that might provide alternate paths for the signal. If you're getting intermittent signals, there may be a loose connection or partial break in the wire. Sometimes old splice connections can create high resistance points that interfere with tracing. When continuity testing shows unexpected results, consider that the wire might be part of a multi-conductor cable where other conductors could affect readings.
When to Call RnR Electrician
While basic wire tracing can be done safely by homeowners, certain situations require professional expertise. Call RnR when your wire is behind drywall and requires cutting for access, when dealing with multiple junctions or complex routing, if you suspect code violations or unsafe installations, when working with high-voltage circuits (240V+), or if aluminum wiring is present. Our licensed electricians have professional-grade equipment including advanced wire tracers, insulation testers, and thermal imaging cameras that can locate problems without destructive investigation. We also carry insurance and licensing that protects you from liability if issues arise during the work.
Need a licensed electrician in Los Angeles?
RnR Electrician handles this and more. Same-day service, free estimates.
Professional wire tracing isn't just about finding the wire - it's about understanding the entire electrical system and ensuring every connection meets safety standards.
Tracing wires without power is a valuable skill that combines proper tools, systematic methodology, and unwavering attention to safety. While the techniques we've outlined will help you successfully trace most residential wiring, remember that electrical work can be complex and dangerous. When in doubt, our team at RnR Electrician is here to help with fast, expert service that ensures your electrical system is both functional and safe. Don't let wire tracing turn into a guessing game - call the professionals who have the experience and tools to get it right the first time.