Electrical Outlet & Switch Installation Guide
This electrical outlet and switch installation guide is written from the field. As licensed electricians serving Los Angeles for over 20 years, we've seen every kind of DIY mistake—and we're here to help you avoid them. Whether you're replacing a switch or installing a combo outlet, this guide covers safety-first steps, clean wiring habits, and field-tested tips you won't find in generic tutorials.
Skip the DIY? RnR Electrician installs outlets & switches across LA. Call (626) 922-0091
By Cesar R.
50
35
What You'll Need
Tools: Voltage tester, Wire stripper, Screwdrivers (flat + Phillips), Drywall saw or utility knife, Tape measure or… your hand (more on that below!). Materials: Outlet (standard, GFCI, or AFCI), Switch (toggle, dimmer, smart, etc.), Electrical box, Wire nuts, Electrical tape
Safety First: A Note From the Pros
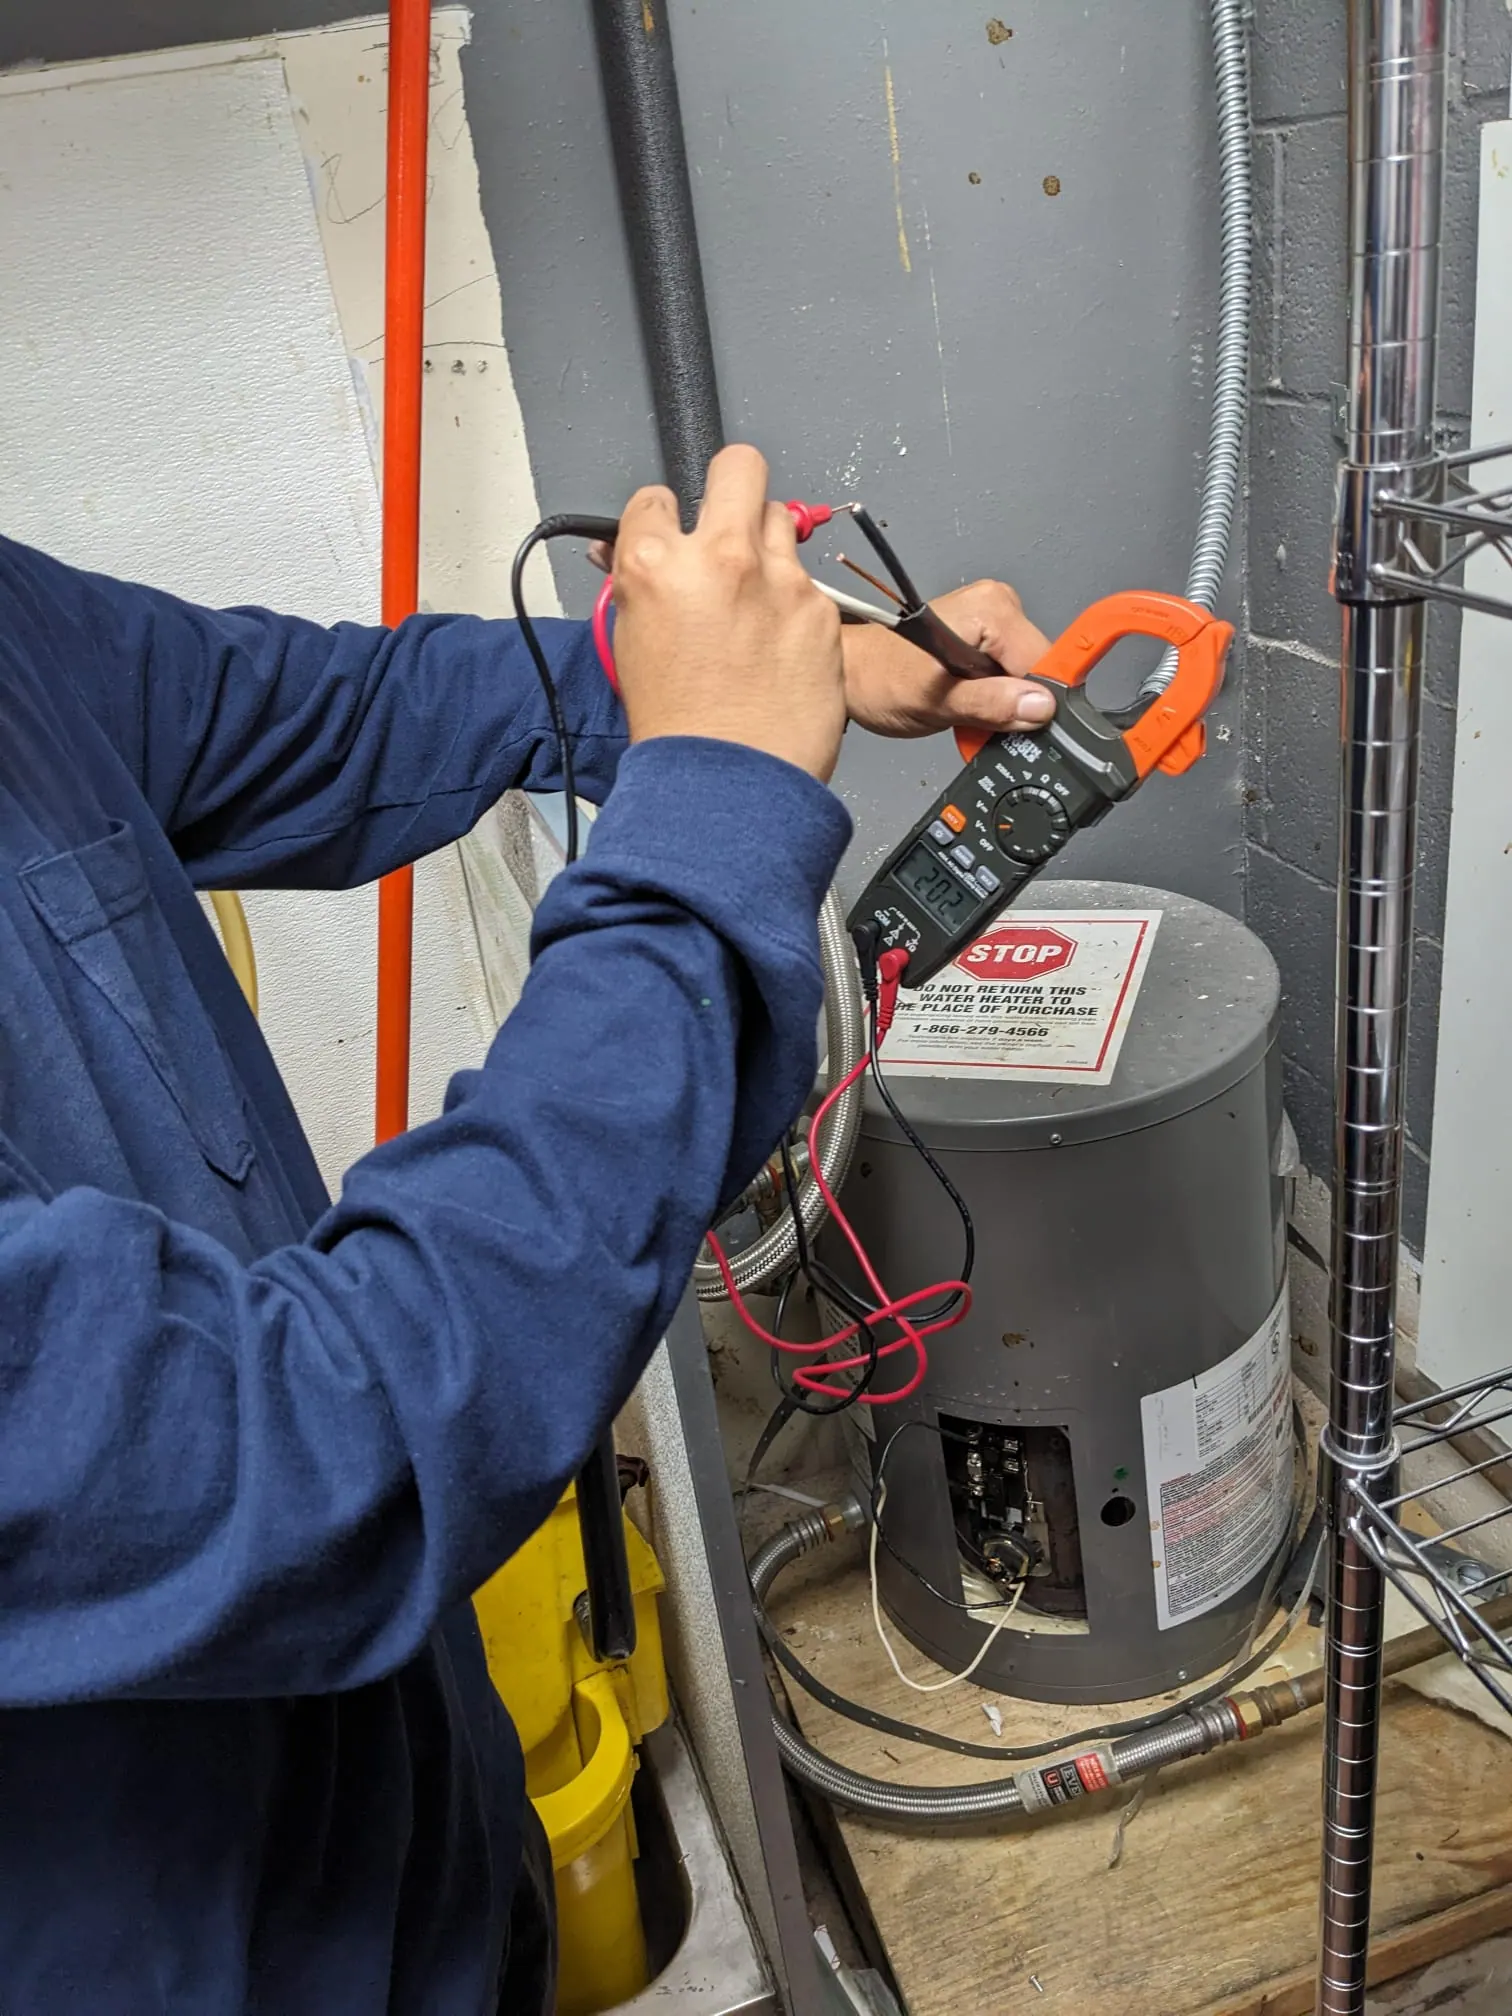
- Kill power at the breaker. No shortcuts—use a voltage tester to verify.
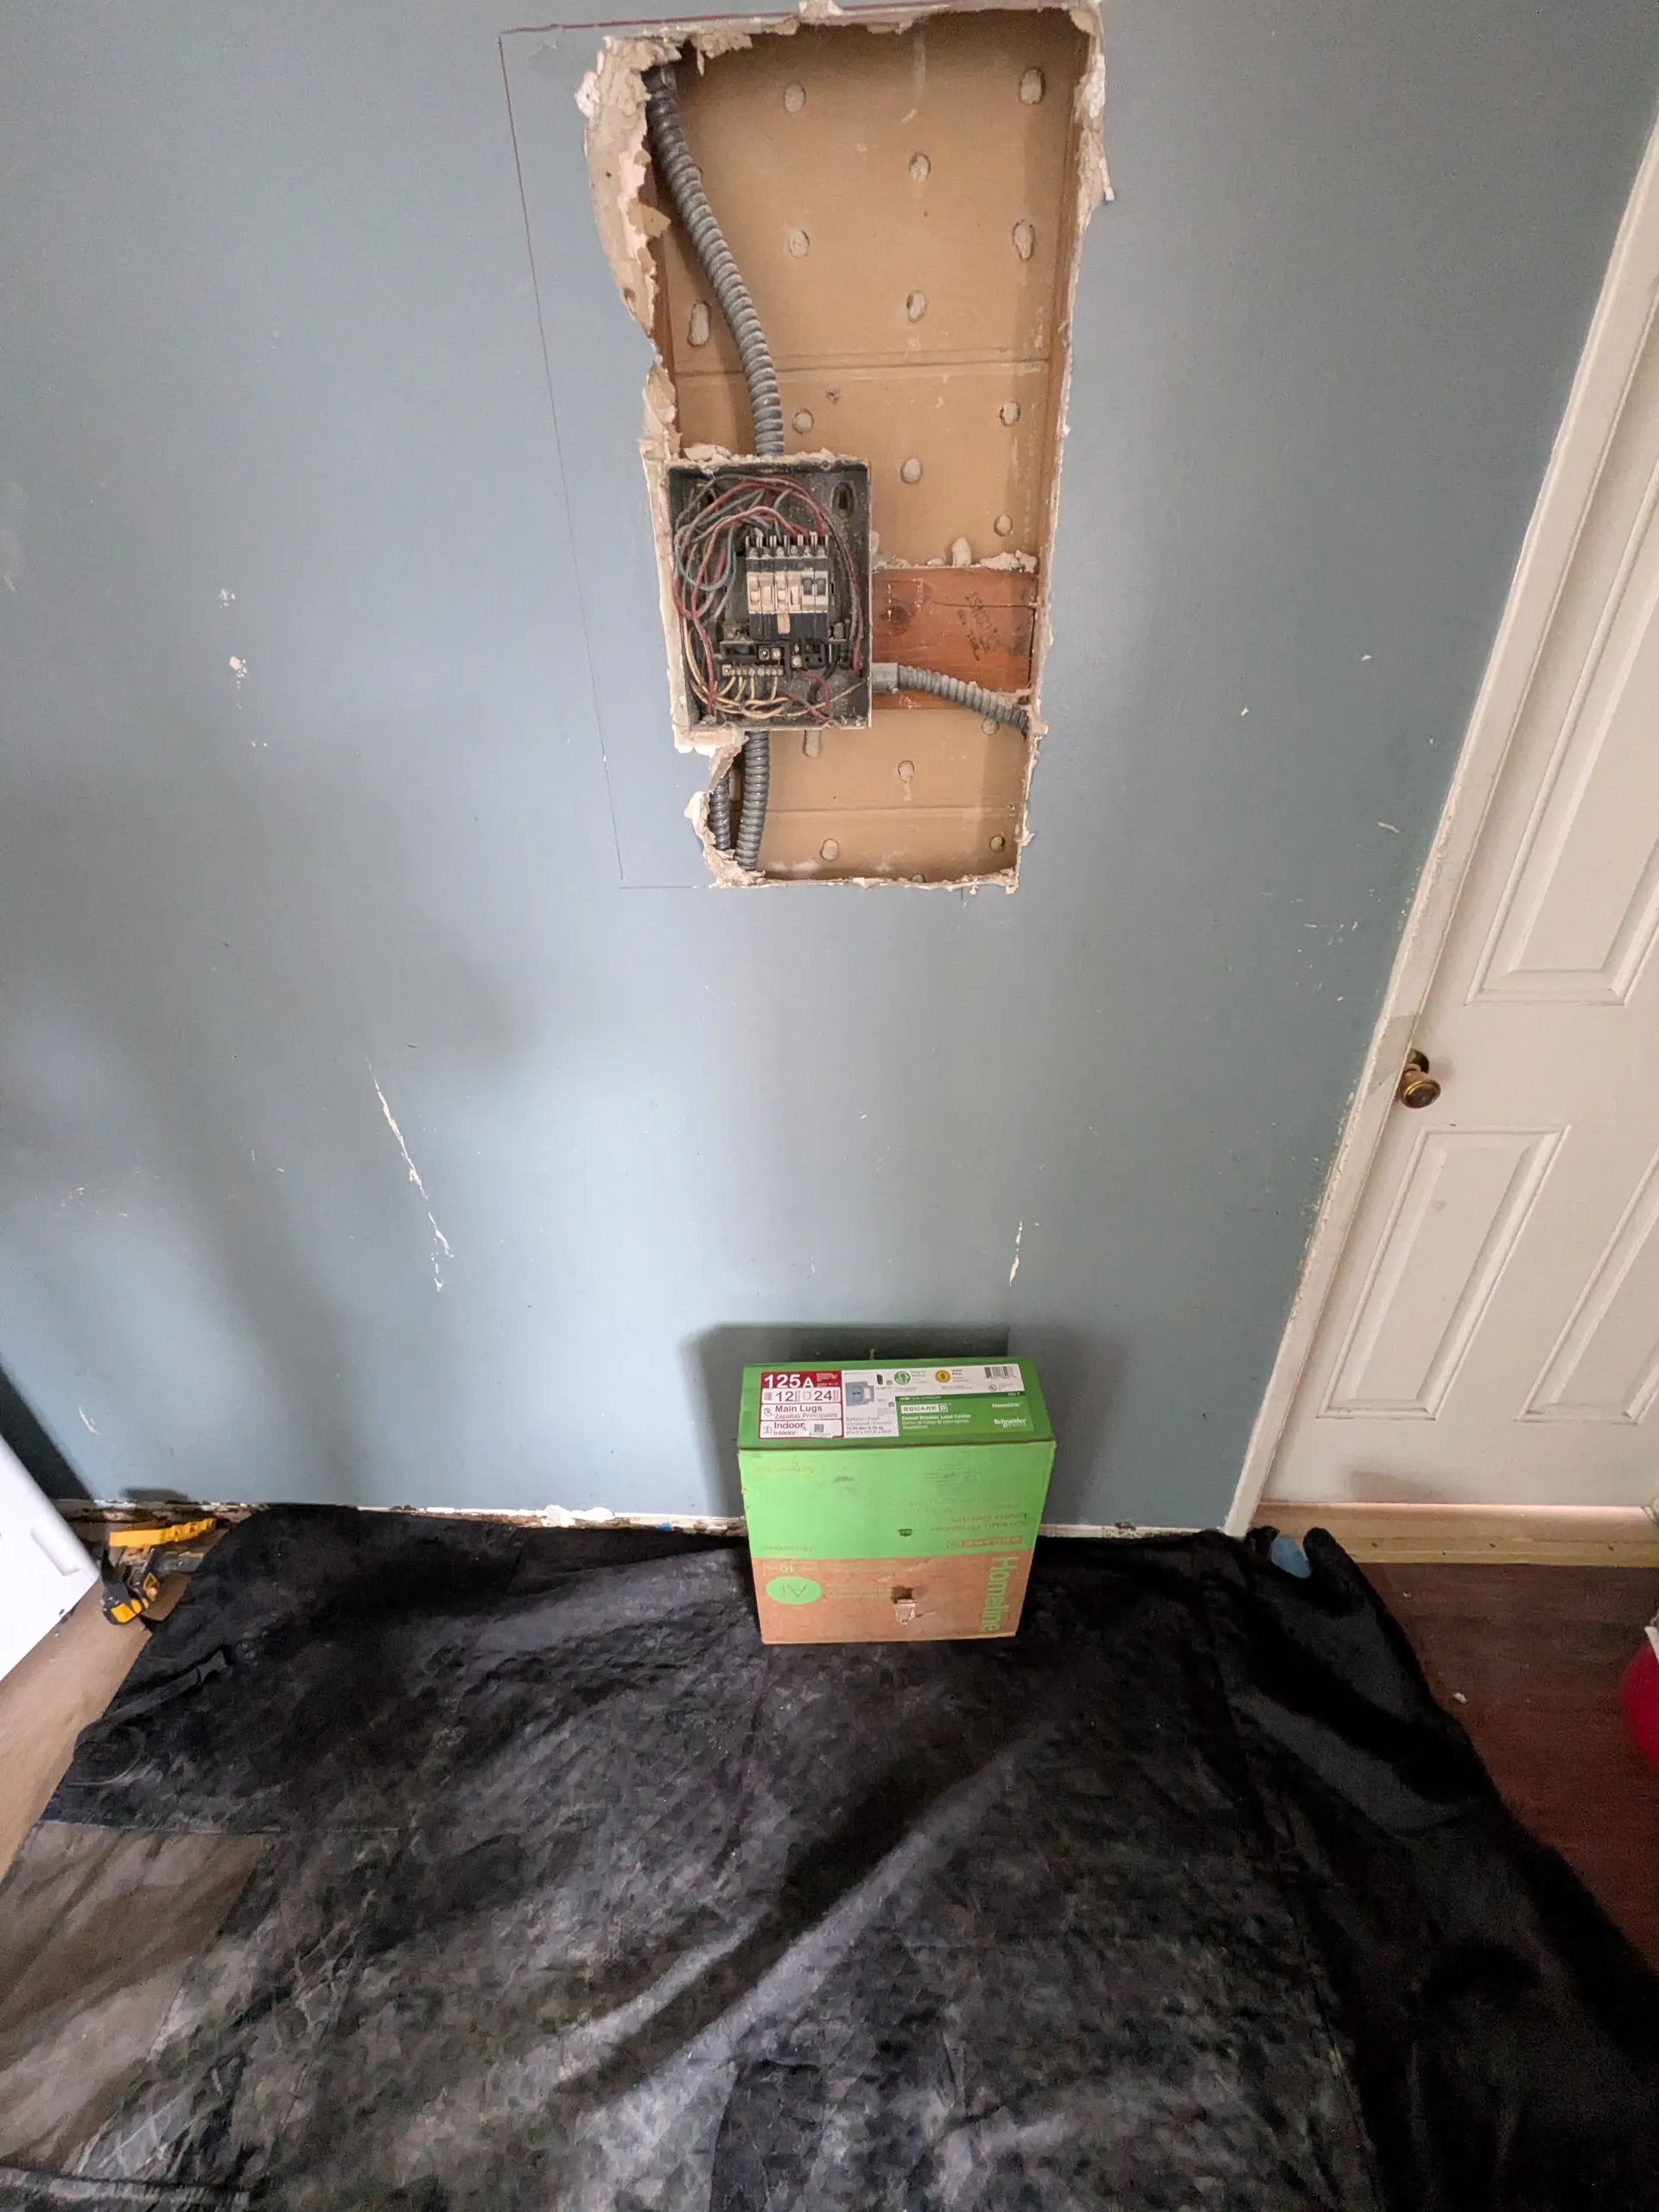
- Don't drill blindly. We recommend cutting a small section of drywall to inspect inside the wall before drilling. It only takes a second and could save you from puncturing a water line or live wire.
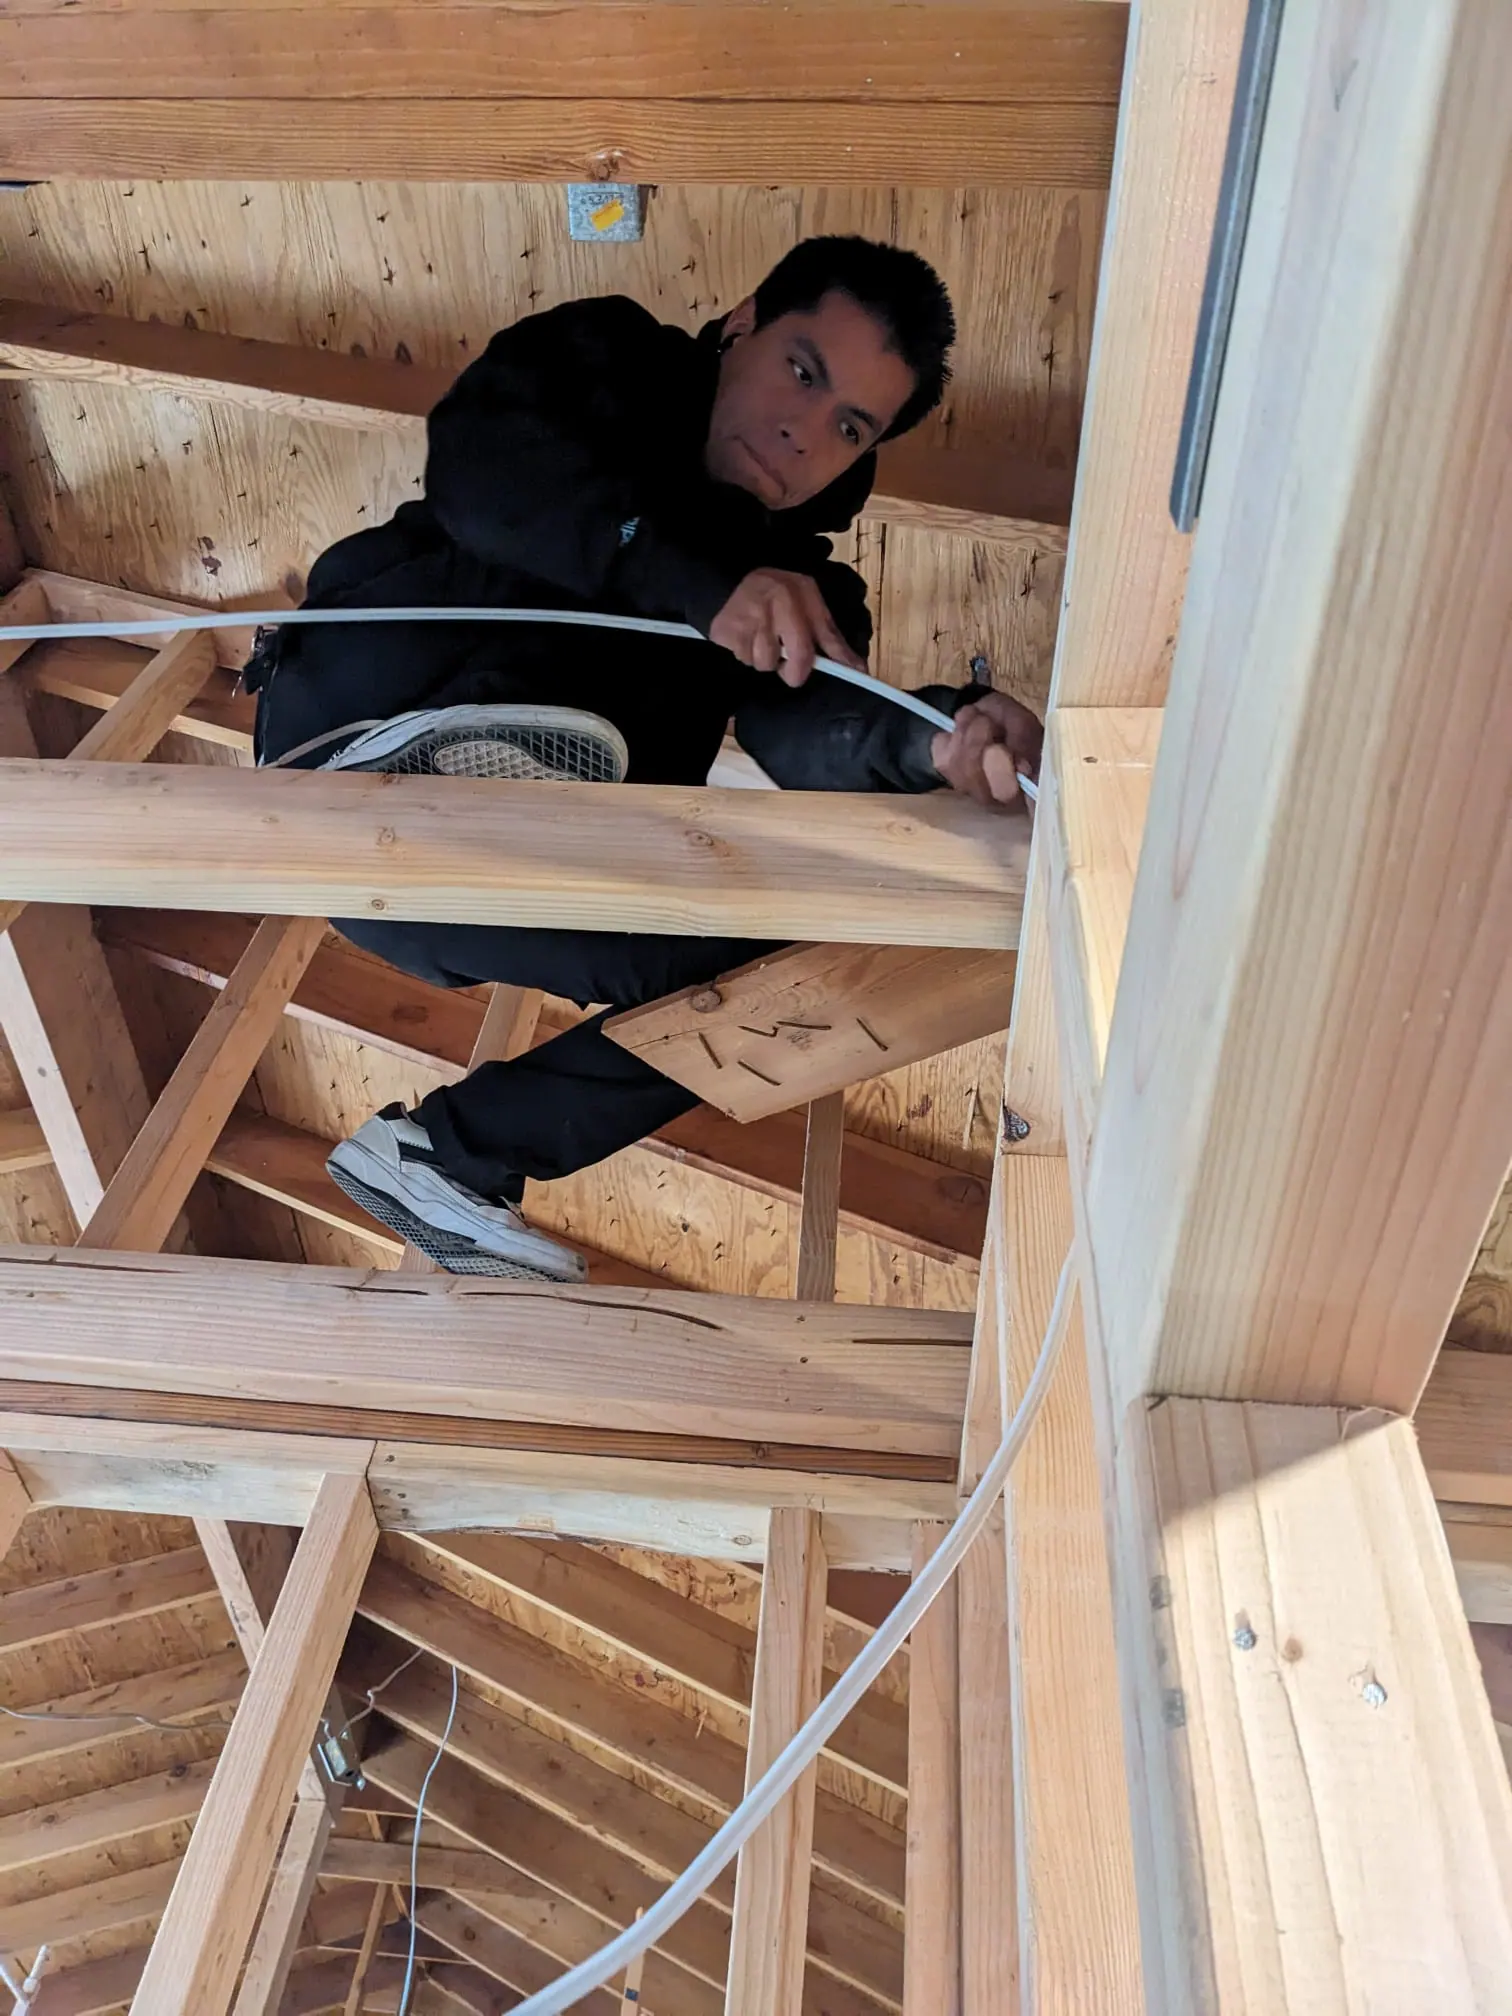
- Always leave enough slack. Leave at least 6 inches of wire inside the box to work with. A great rule of thumb? Stretch your hand from pinky to thumb—that's about 6 inches. It's the method we use on job sites every day.
Wiring Basics
Hot (Black or Red): Carries power. Neutral (White): Returns current. Ground (Green/Bare): Safety grounding.
Step-by-Step Installation
1. Prep the Box: Remove the old device if needed. Pull the wires out gently. Trim and strip about ¾ of insulation from each wire. 2. Make Your Connections: Hot wire to brass terminal, Neutral wire to silver terminal, Ground wire to green screw. If it's a switch/outlet combo, follow the wiring diagram provided with your device, or consult a licensed electrician if unsure.
Need a licensed electrician in Los Angeles?
RnR Electrician handles this and more. Same-day service, free estimates.
Pro Tips That Matter
- Leave 6 inches of wire inside the box. Use your hand as a quick measuring tool—pinky to thumb span = just right.
- Check behind the wall before drilling. Don't assume it's clear. A flashlight and drywall knife can save you big-time.
- Label your wires if you're dealing with multiple connections, especially in older homes.
Final Steps
- Tuck wires neatly into the box.
- Screw the outlet and/or switch into place.
- Restore power and test using a plug tester or light fixture.
- If something trips or doesn't work, double-check connections before calling in help.
FAQs from DIYers
Do I need a GFCI outlet in the bathroom? Yes—by code, GFCIs are required anywhere moisture is present: bathrooms, kitchens, garages, outdoors. Can I use one box for both a switch and outlet? Yes—but you need a box rated for the combined volume. We always check capacity before beginning.
When to Call an Expert
If your project includes: Aluminum wiring, Multi-way switches, Smart home integration, Unclear labeling or burnt wires... stop and give us a call. We're happy to finish the job or just answer a question.
Need a licensed electrician in Los Angeles?
RnR Electrician handles this and more. Same-day service, free estimates.
Need a pro to handle it? See our outlet installation service for licensed C-10 outlet & switch installation across Los Angeles.
As licensed electricians serving Los Angeles for over 20 years, we've seen every kind of DIY mistake—and we're here to help you avoid them.
Installing a switch and outlet requires careful attention to safety and proper technique. From using your hand to measure wire slack to checking behind walls before drilling, these field-tested tips will help ensure a successful installation. Remember, when in doubt, consult with licensed professionals who can guide you through complex installations safely.